(This documentation is associated with the File Uploads Addon for WooCommerce Pro plugin.)
Woah, looks like you’ve purchased the File Uploads Addon for WooCommerce Pro plugin and are all set to allow customers to upload files on the WooCommerce Product Page.
Allow us to commence this journey with you!
Installation process:
You must have received an email containing the download link to the plugin file, a license key & some order-related details. Keep that handy because you’ll require it later.
Steps to install the plugin:
- Download the zip file of the plugin
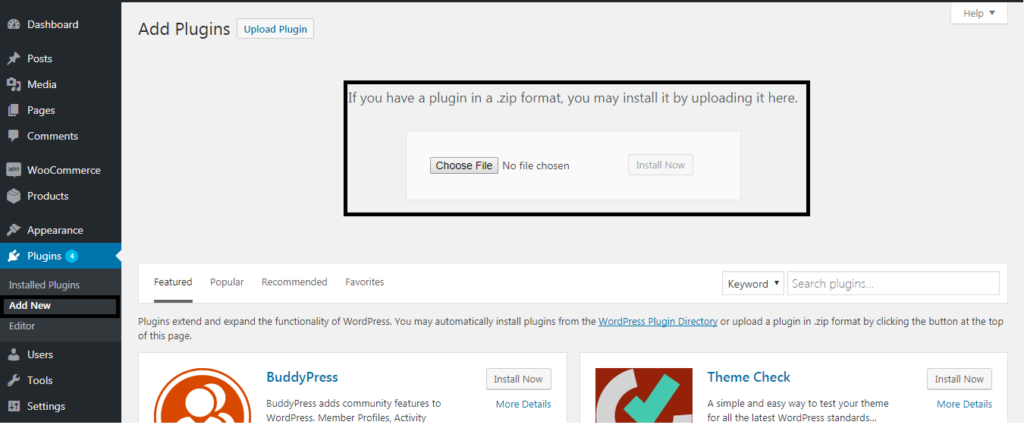
- Go to WordPress Admin > Plugins > Add New to upload.
- Click Upload Plugin at the top.
- Click Choose File and select the .zip file you downloaded earlier. Click Install Now.
- After the plugin is uploaded you can activate it.
Alternatively, you can install the plugin manually through FTP software as well.
License Activation:
- Please go to File Uploads Addon for WooCommerce Pro -> License key tab.
- Enter the license key provided in the email in the license key tab.
- Please ensure that you save the license first using the “Save changes” button and then activate the license.
- The status will be changed to ACTIVE and will be shown in green next to the Status option. (image)
NOTE: Update notifications will only come for valid and active licenses.
That’s it! Your plugin is installed, and your license is successfully activated. If you encounter any issues or have questions, please contact our support team for assistance.


